


This update might be a bit convoluted. I use Irfanview to take screenshots, but you have to turn on the option to take screenshots with Irfanview. I forgot to start it, so some screenshots are missing... And then Photobucket for some reason didn't sort the images like it usually does, so they are all scattered throughout the album.
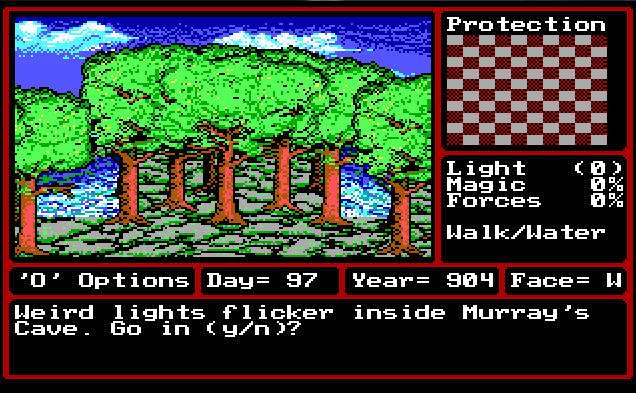
Our first stop is Murray's Cave. Murray's Cave is north of Tundara, but you're not TECHNICALLY supposed to go north to get there. The cave is on a small island and I guess it supposed to be like resort? You can reach the island with the help of the Sorcerer spell Teleport, or the Cleric spell Walk on Water (we used Walk on Water). But the way you're SUPPOSED to do it is by catching a boat south of Middlegate (the starting town) after booking a trip via a travel agent.
First we explored the dungeon a bit, but eventually we took the boat ride too. For continuity purposes(?), here's the boat ride:
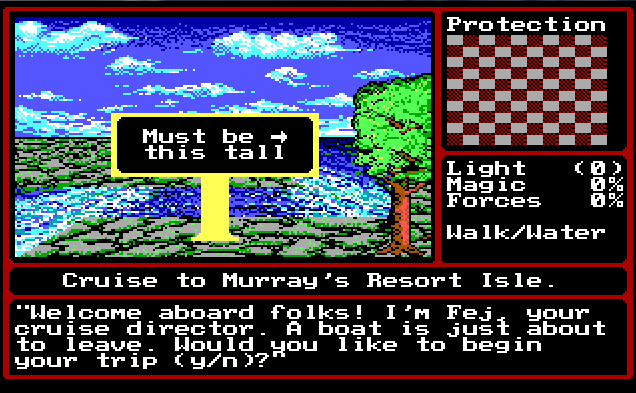
I'm unsure if we have to book another trip now that we've gone on this one, but knowing this game, probably. On the boat ride Fej points out local points of interest.

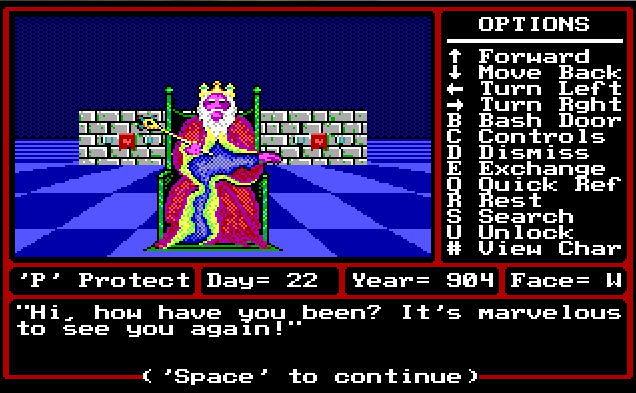
You might remember the jouster from previous updates where he killed us...

I'm not sure if the Evil Zone is the same as the Dead Zone, where we can learn the spell Star Burst. I guess its worth checking out later, although it doesn't sounds like a very friendly place either way.
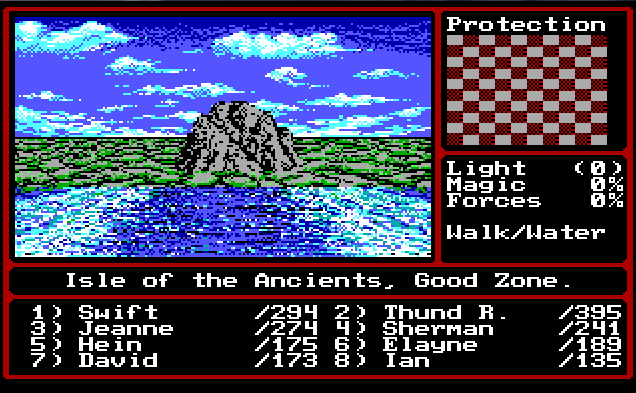
The Good Zone sounds a lot more appealing then the Evil Zone, I must say. I think these zones refer to alignments. That's gonna be problematic I think, since a majority of my party is Good. In fact Hein the Robber is my only Evil character. I wonder if there is a Neutral Zone?
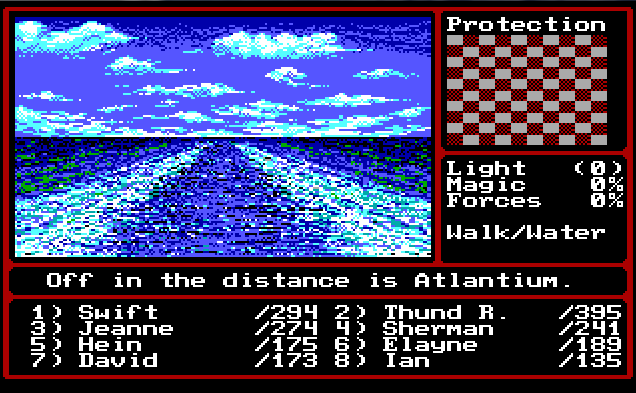
Pretty damned far in the distance. All we can see is water. Well, we already know how to get to Atlantium. And its more or less become our base of operations, so it doesn't really matter that we can't see it.
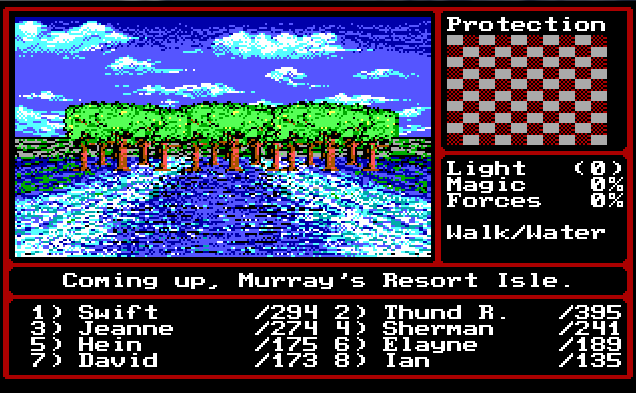
Finally we reach our destination. And we can head into the cave, but lets take a look around the island first!
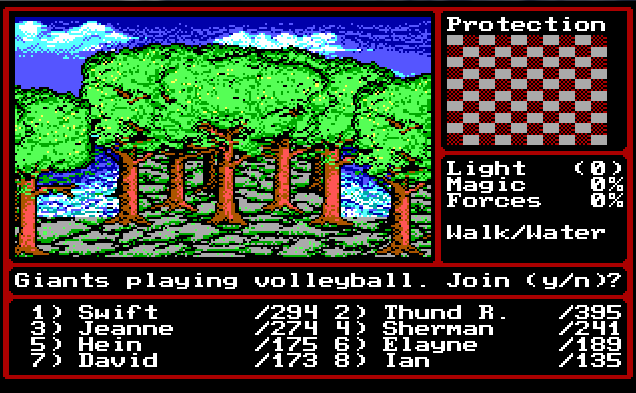
We see some giants playing volleyball, and we play a match with them. I dunno how volleyball works in the world of Cron, but we kicked the hill giant asses so hard. Literally, it started a battle and we killed them all.
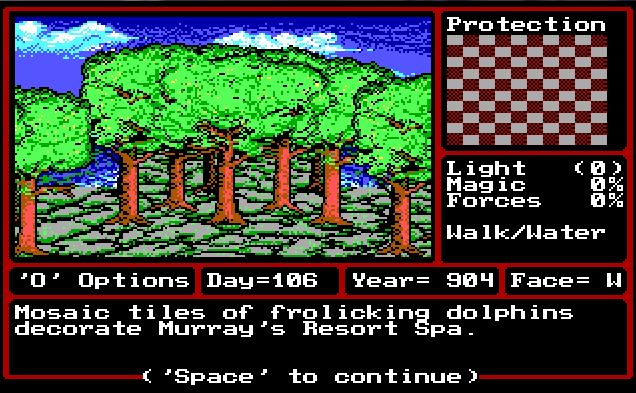
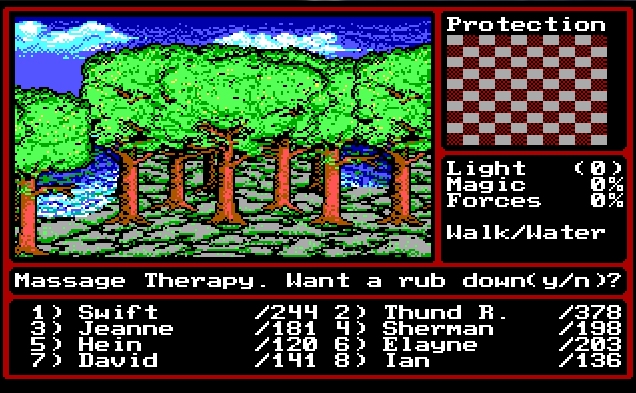
Time to get some R&R at the spa. We could use a break from adventuring.
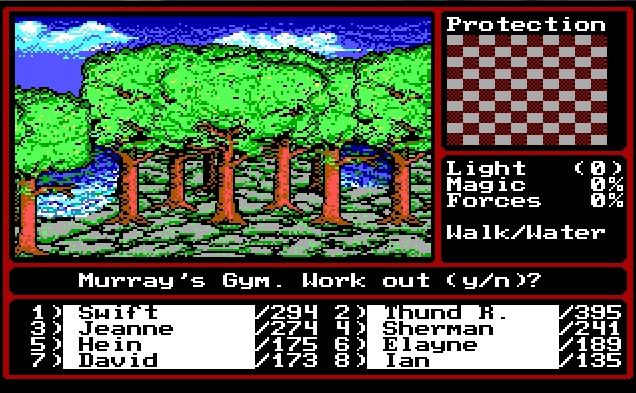
I'm missing the screenshot that shows what happened to us. There was a bar on Murray's Island and we decided to have a drink, only the drink was poisoned. I actually don't remember what the gym did, although chances are it temporarily boosts Might, probably to 75 to balance the Personality boost.
Another screenshot I appear to be missing is the swimming pool on Murray's Island. We decided to jump right in, only to discover that some asshole poured acid into the pool. We took damage, but nothing too substantial.
Time to head down into the cave!
(Note: this is where the update starts to get convoluted, since I went through 2 different dungeons, and dungeons looks the same in appearances. The mixed up [and sometimes missing] screenshots on photobucket won't help things either...)
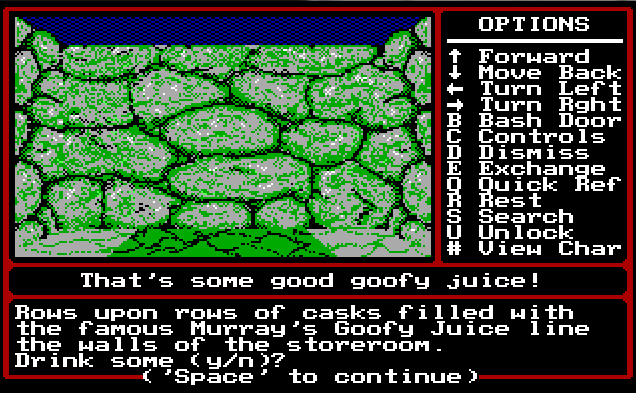
One of the things of note in Murray's Cave is his supply of Goofy Juice. Goofy Juice is actually pretty crazy stuff. It temporarily lowers your current and max HP to 1, BUT it also temporarily raises your level to 200 (or maybe it was by 200). Unfortunately, with 1 hp, you're just gonna die. However theres a missing screenshot of another drink in Murray's Cave that temporarily boosts your HP by 500, and it stacks with the Goofy Juice, resulting in Level 200+ and 501 HP. This is very abuseable, however, Lloyd's Beacon doesn't work in Murray's Cave, and some of the monsters are pretty badass. So even though the two drinks are sort of near each other, there is still a chance we'd get murdered while we're walking with 1 HP to the other drink.


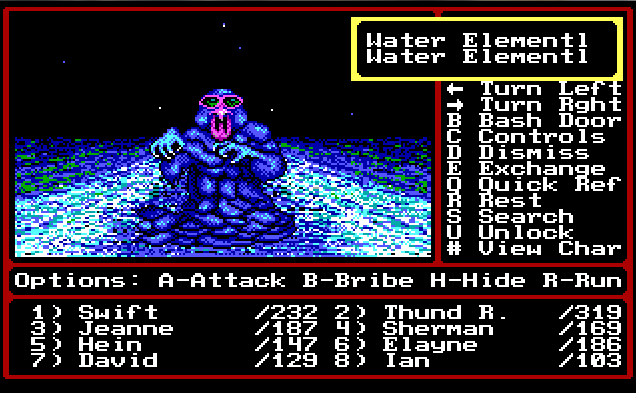
The Shadow Rogue hits pretty hard, but only on one target. The Griffin is pitiful since at one point we farmed them for experience. The ghouls aren't scary either. The monsters to worry about here are the Endless Knights. They can cast magic that deals 30-60 damage to the party. But two can play at that game. Ian has level magic 8 and 9 magic (9 being the last level of magic) and as a result, he can and will blow shit up. Megavolts is a level 8 spell, it deals 4-16 damage per level of the caster. Ian is level 22, so he can deal 88-352 damage. Inferno is a level 9 spell that does 1-20 damage per level of the caster, so 22-440 damage. Each spells targets 10 monsters. And while the Endless Knights can survive his magic, they are easily dispatched by the remaining characters.
(Missing Screenshots)
There's a locked door that says NO HIRELINGS so we had to run back to town and kick out Sherman and Thund R. Behind that door is another door that apparently tests the first character in the party to see if he has enough (ie 50) Might. Swift easily passes the bill, and we make it to yet another door that says Heroes Only. This door hates us and refuses to let us pass, in fact it teleports us back three steps to the No Hireling door.
We also found Murray's room. We deicde to break into his room and get attacked by Stone Golems. Stone Golems aren't too terribly dangerous except for the fact that they are impossible to kill. They cannot be damaged with melee attacks and spells fail like 90% of the time, and if a spell finally does land, its like 1/10 the damage it should do. We run away and decide to leave Murray alone and come back at a later date.
Now that we're essentially done with what we can do in Murray's Cave, we decide to explore the surface world a bit. What could possibly go wrong?
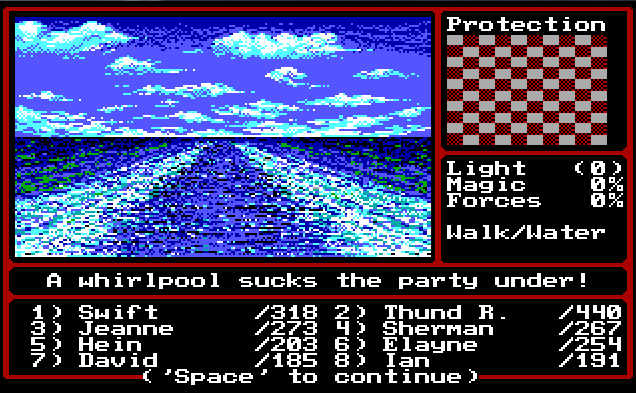
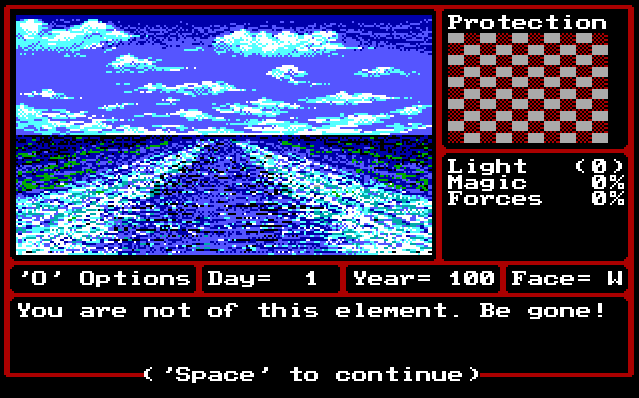
We try to explore the ocean a bit, which proves to be quite treacherous. We actually got hit by a tidal wave earlier which dealt a bit of damage. The whirlpool teleported us to the middle of a swamp, nowhere near water. Not quite sure how that happened. The swamp was someplace we've never been, so we got pretty lost.
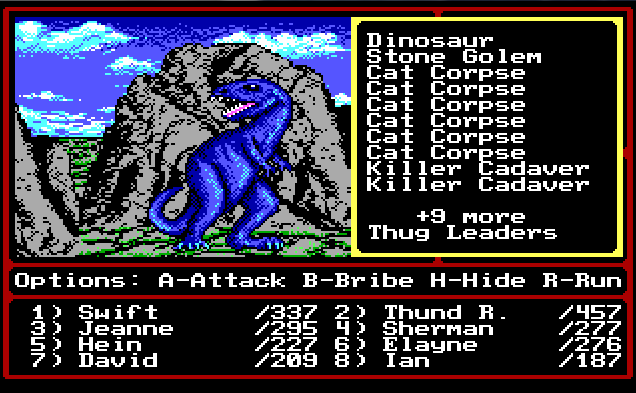
We eventually find our way into the mountains, where dinosaurs rule the earth once again. Hmm, sucked into a whirlpool and end up in a land of dinosaurs? Sounds like a Hanna-Barbera cartoon!
The Dinosaur is the least of our troubles, as the Stone Golem is also present. We have all our magic so we spam spells at the Stone Golem and eventually kill it.
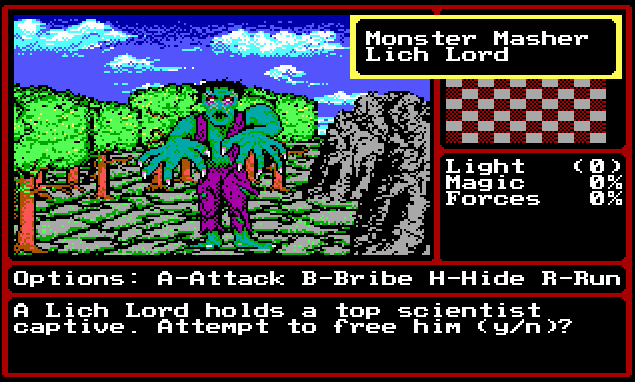
After traveling around we find the Lich Lord that was guarding the scientist. We're a LOT stronger than before, so we decide to give it another chance. Ian blew up (or actually in) the Monster Masher with Implosion, a level 9 spell. Implosion dealt 500 damage to the Monster Masher, killing it instantly. This left us with the Lichlord, which really cannot kill us. It casts Implosion, knocking out whoever it uses it on, but there are 3 Cleric spellcasters, so all we had to do was heal whoever it knocked out and they're good to go. So this battle was a war of attrition, which we eventually won.
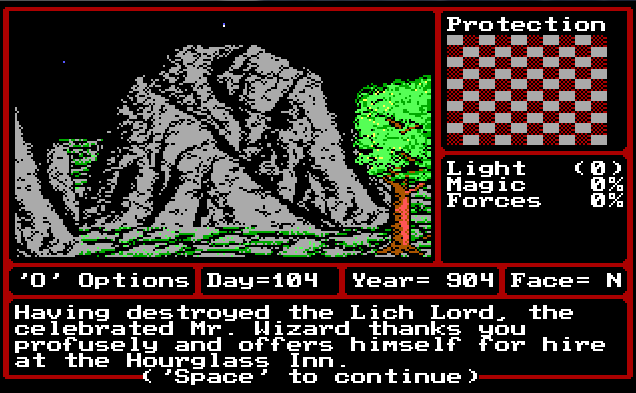
Well, now we can hire Mr Wizard. As much use as he could be, we already have Ian casting level 9 magic. A second mage would just be overkill I think. Besides, Elayne can cast up to level 7 magic, if she needs to.
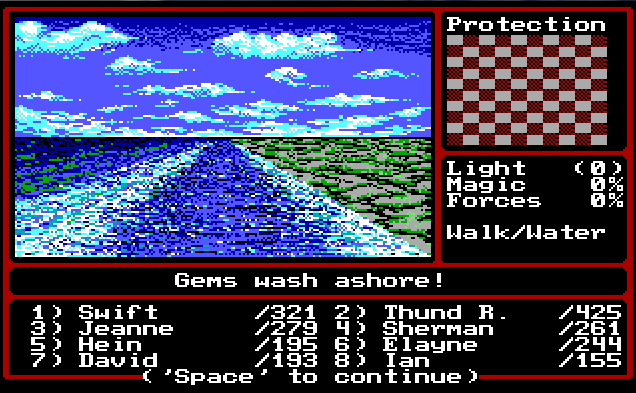
After a quick stop at the inn, we go back to exploring the ocean (because we didn't learn our lesson earlier). Along the shoreline we keep finding gems washing ashore. Each time this message shows up, each character gets 5 gems. I guess its nice, but we already have more gems than we know what to so with.
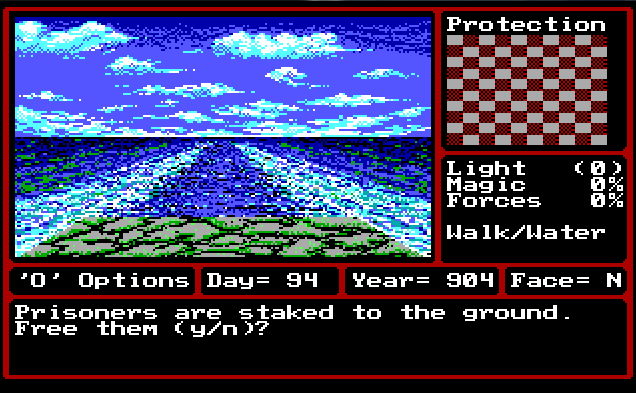
There are quite a few tiny islands in the middle of the ocean with prisoners staked to the ground. We free them only to...
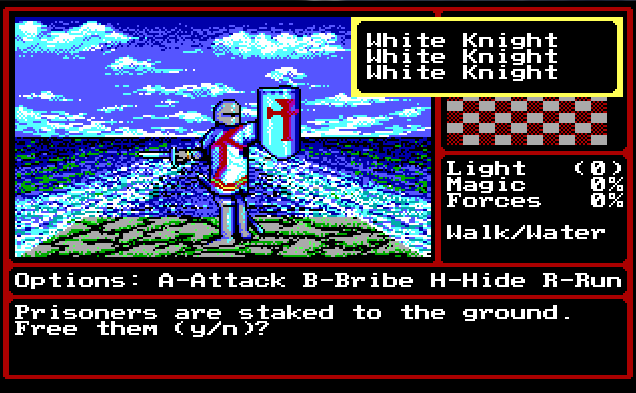
Get fought by them? Or maybe these are the captors? I have no idea as the game doesn't explicitly say. White Knights are pretty easy and we easily dispatch them. They drop some mostly useless loot. We continue to island hop and rescue/murder(?) the prisoners.
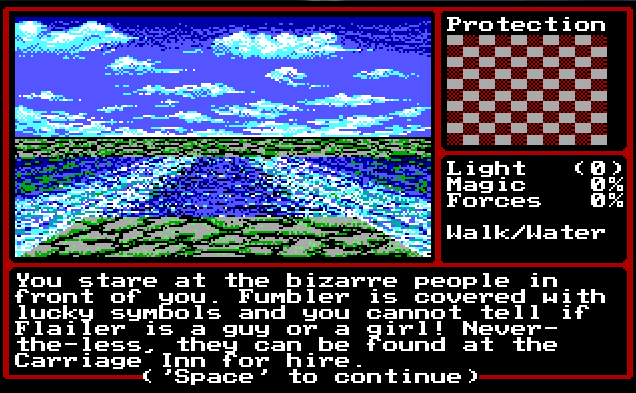
Then we actually save people! Is it a man, a woman, or should we ask? I like Thund R and Sherman, so I'm sticking with them. Most of the descriptions of these new hirelings do not make them sound appealing.
After saving these new hirelings we figure we're done exploring the ocean.

And head down into a random dungeon we found on the way to Castle Pinehurst.
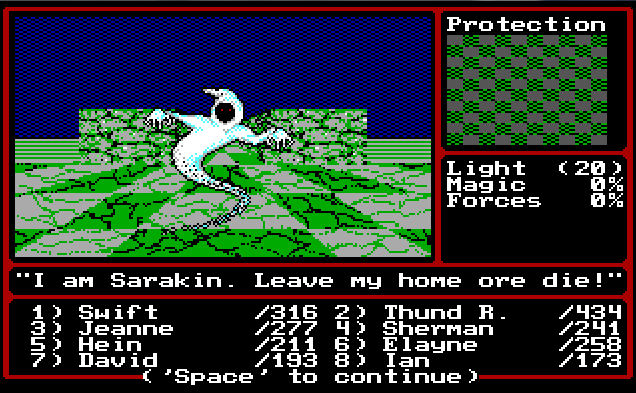
"Leave ore die!" Haha, get it? "Ore," because its a mine. I hate puns... Well, Sarakin is apparently dead then, I guess. And since I hate puns, we are so not leaving, just to piss him off!


Inside, we find two messages on the wall which are completely useless, since we've already done this quest...
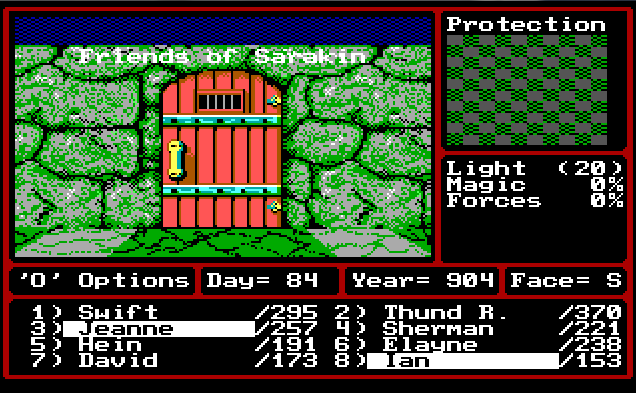
Lets say "Hi" to Sarakin's friends! Maybe they'll tell him not to be a jerk to people that go into his mine.

ORE maybe they are just as dead as he is! Mummies aren't scary. Grim Reapers might be, so I blew them up with magic first before they could do anything. I guess its time to go find Sarakin and kill him as well so he can follow his friends to the world after the next world.
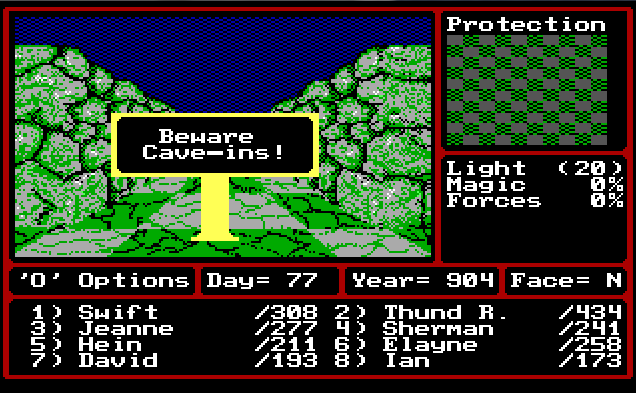
This doesn't sound fun. Cave ins deal 20 damage to the entire party and then ghosts attack for some reason. Ghosts are pretty easy, give crap experience and don't give any loot. Pretty annoying.
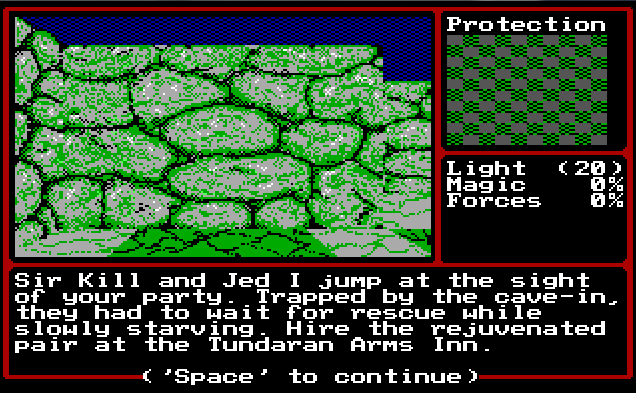
And we find more hirelings. Sometimes I hate this game with its corny jokes. "Jed I?" Really?
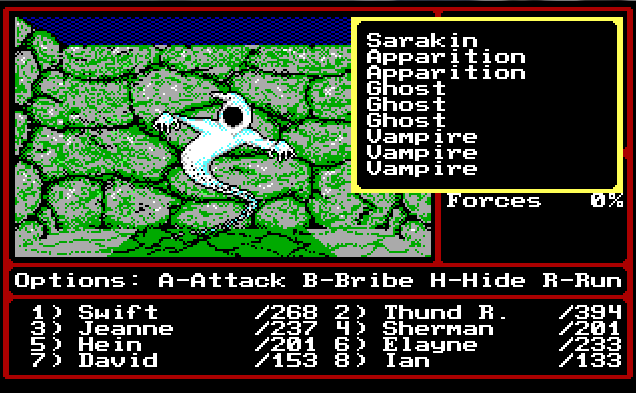
Finally we find Sarakin. The apparitions and vampires are the greatest threat here. Apparitions can age a character they hit. Vampires can deal quite a bit of damage since they have magic that can hit the entire party. Sarakin is pretty lame. He's like the stone golems in that nothing really works on him and he's immune to melee. However... Implosion kills him instantly. It was pretty anti-climactic.
Behind Sarakin is a fountain of youth that lowers the party's age by 5 years.

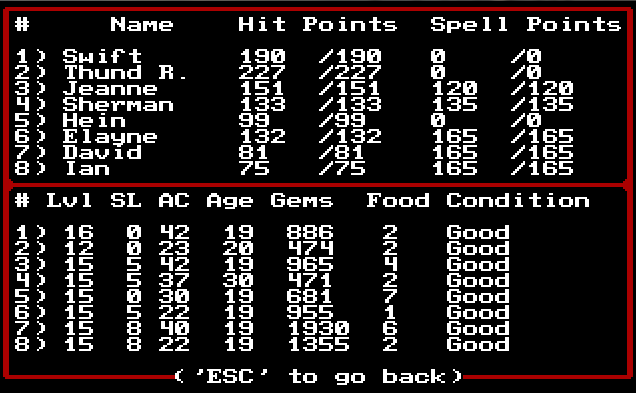
Ending stats from last update.
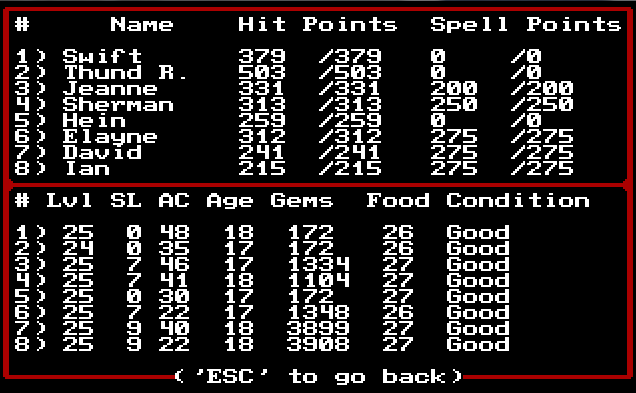
Ending stats from this update. Nice to see everyone has over 200 HP now. And Thund R is a tank with over 500 HP, almost twice the HP of half the party. At one point I pooled all my gems and gave them to the spell casters. the 172 that the fighter have is what we found exploring and killing monsters. In reality, that means each character got 172 gems, for a total of 1376 gems. Implosion and Inferno both cost 10 gems, and Megavolts costs 8. Even though I use these spells fairly often, there is like no way we're ever gonna run out of gems. We have approximately 5 million gold, so every character (except hirelings since they can't hold gold) has 850,000 gold. The only reason for gold is to for training which is pretty cheap like less than 10,000 gold, and for reviving a character at the temples. Reviving for the longest time cost only 1,000. Now its gone up to 12,000 which is still nothing when we have 5 million gold altogether.
Using the fountain of youth, we reset out ages to younger than we were at the beginning. M-a-a-a-g-i-c!
End of Part 14


